Initial setup
The application you want to profile, trace or capture scenes from must NOT already be running. The panel needs to be configured in advance of starting your application.
- Start the RadeonDeveloperPanel(.exe) on your local system. The panel will startup up with the Connection tab already highlighted (see below).
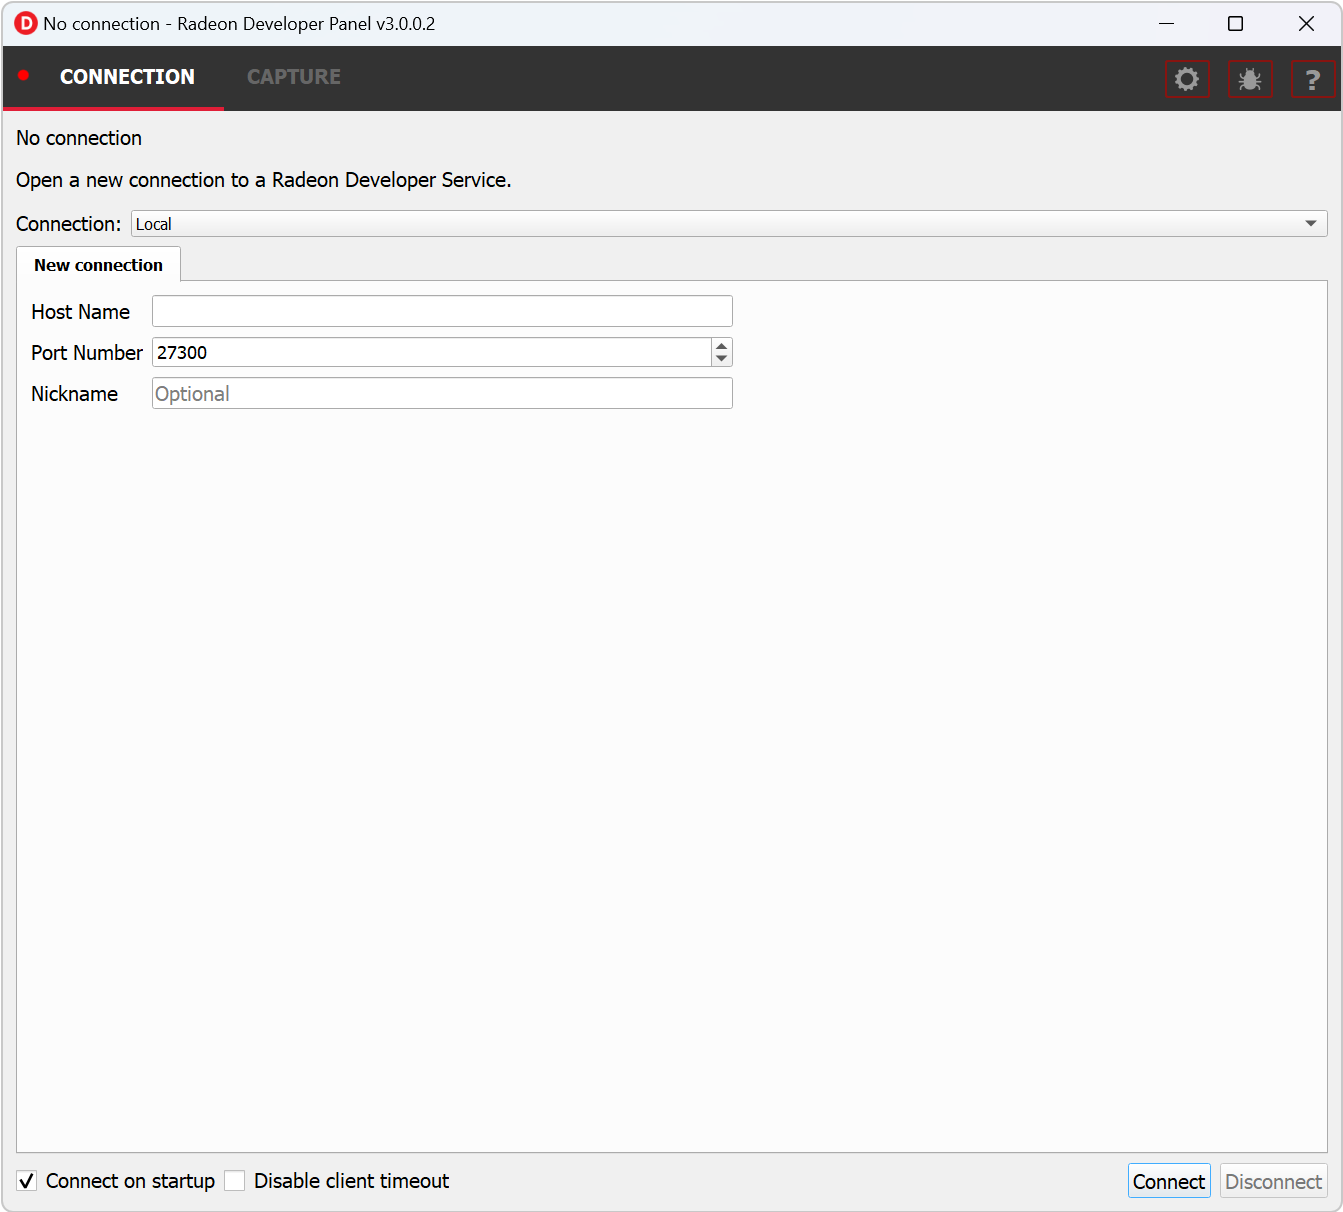
The connection panel has three main elements:
-
Connection status - to the Radeon Developer Service (currently not connected)
-
Connection dropdown - choose a previous connection to connect to. Local will always be available in this list
-
New connection - section that allows you specify a new remote connection. New connections will be added to the connections list
- Connect to a Local or Remote connection:
Select an entry from the Connection dropdown, then click the “Connect” button. This will attempt to establish a connection to a Radeon Developer Service
Note that the red indicator to the left of the “CONNECTION” tab will change to green to indicate that the connection was successful.
Connections to applications will timeout after a brief period of no API calls being made. For example, a timeout will likely occur when a connected application is suspended by a debug breakpoint or if the application is only occasionally refreshing. Enabling the “Disable client timeout” toggle will stop Radeon Developer Panel disconnecting from inactive clients.
For Local connections, starting Radeon Developer Service is optional. For Remote Connections, a Radeon Developer Service instance must be started on the remote machine (see below)