Radeon Raytracing Analyzer - Quick Start
How to generate a BVH scene
The first thing you will need to do is generate a BVH scene. Currently, this is done via the Radeon Developer Panel. Please read the documentation provided with this distribution for information on how to create a BVH scene. This can be obtained from within the Radeon Developer Panel or from the link on the Radeon Raytracing Analyzer “Welcome” view. The documentation is also available online at: /manuals/rdp_manual/rdp_manual-index/
This documentation can also be found online at: /manuals/rra_manual/rra_manual-index/
Starting the Radeon Raytracing Analyzer
Start RadeonRaytracingAnalyzer.exe (this is the tool used to view RRA scene data).
How to load a scene
There are a few ways to load a scene into RRA.
- Use the “File/Open scene” pull down menu, or the “File/Recent scene” pull down menu item.
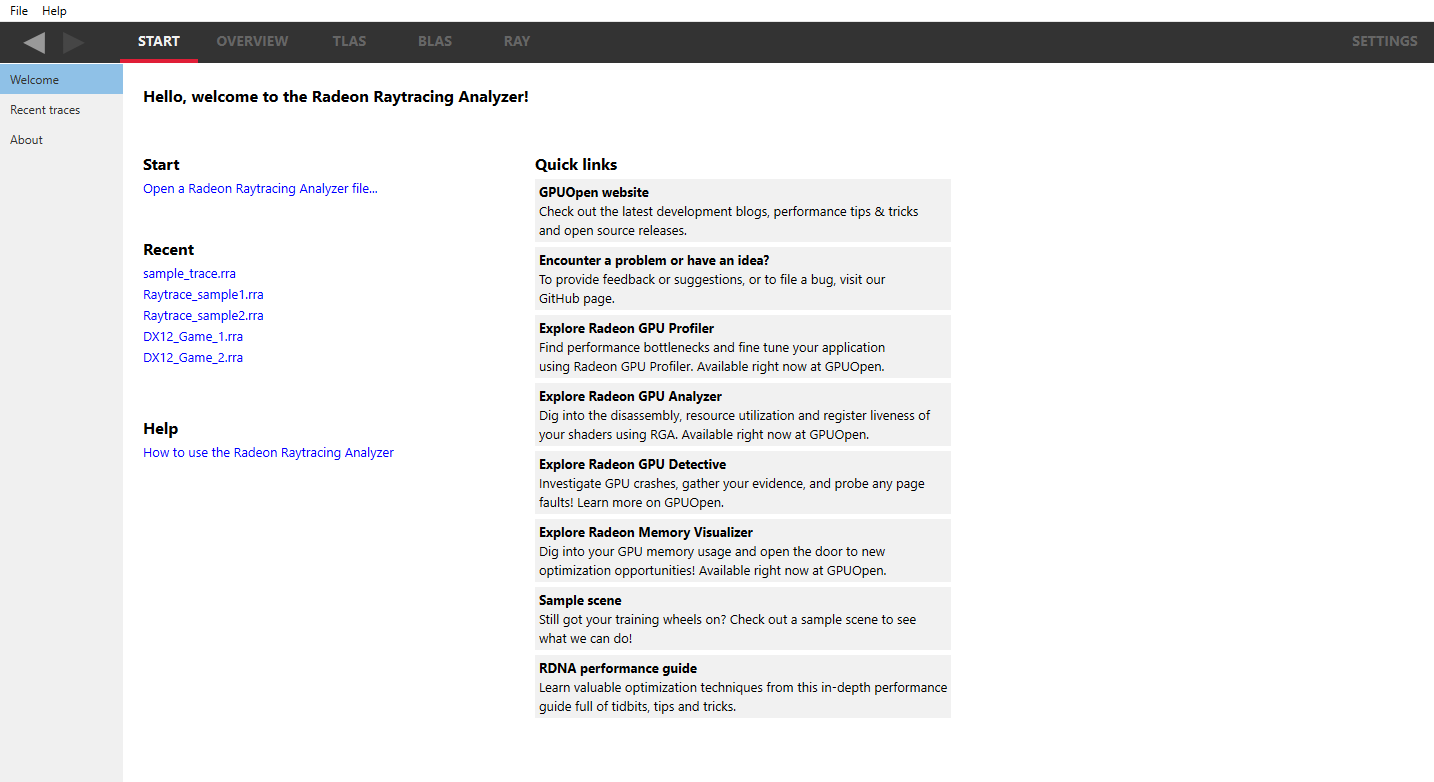
- Go to the “Welcome” view and click on the “Open a Radeon Raytracing Analyzer file…”
- Go to the “Welcome” view and click on a scene that you have previously loaded in the Recent list.
- Go to the Recent scenes view to see a full list of all your recent scenes.
Notice that there is additional information provided for each scene when viewed in this pane, such as the date when the scene was last accessed. It is also possible to remove recent scenes from the list using the “Remove from list” link button. Note that they will only be removed from the list; they won’t be deleted from the file system. There is also a link button, “Open file location” to open the folder where that scene file is on the disk.

- Drag and drop an RRA scene file onto the Radeon Raytracing Analyzer executable, or onto an already open RRA instance.
The Radeon Raytracing Analyzer user interface
There are four main menus in the Radeon Raytracing Analyzer and each may have a number of sub-windows..
- START
- Welcome - Shows links to help documentation, and a list of recently opened scenes.
- Recent scenes - Displays a list of the recently opened scenes.
- About - Shows build information about RRA and useful links.
- OVERVIEW
- Summary - Gives an overview of the scene, showing the number of acceleration structures, the resources they use and their memory usage.
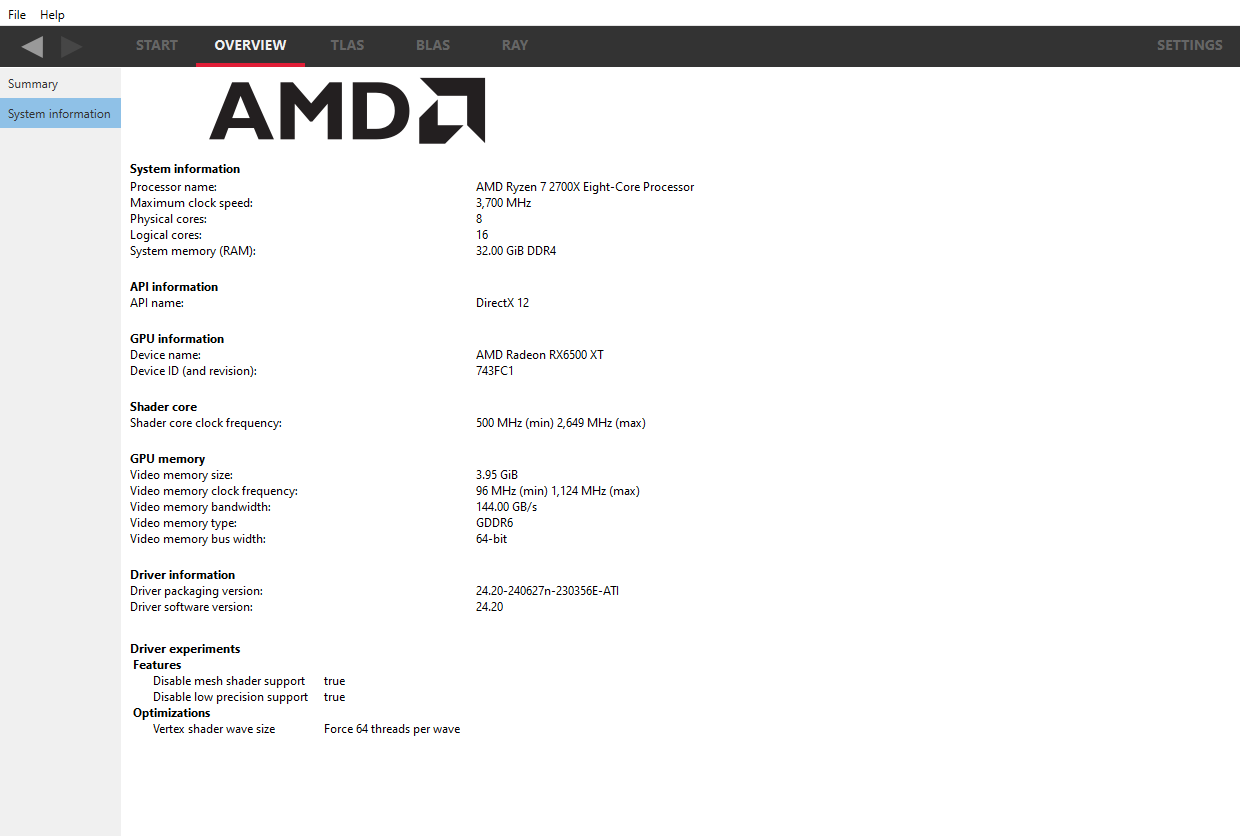
- System information - Provides details of the GPU used to record the scene.
- TLAS
- Viewer - The main viewer for a top-level acceleration structure.
- Instances - Lists statistics for all instances referenced in the selected top-level acceleration structure.
- BLAS List - Lists statistics for all bottom-level acceleration structures referenced in the selected TLAS.
- Properties - Lists statistics and properties for the currently selected top-level acceleration structure.
- BLAS
- Viewer - The main viewer for a bottom-level acceleration structure.
- Instances - Lists statistics for all instances of the selected bottom-level acceleration structure.
- Triangles - Lists statistics for all triangles of the selected bottom-level acceleration structure.
- Geometries - Lists statistics for all geometries of the selected selected bottom-level acceleration structure.
- Properties - Lists statistics and properties for the currently selected bottom-level acceleration structure.
- RAY
- Dispatches - The main viewer for visualizing various types of dispatches that shot rays.
- Inspector - A viewer for inspecting rays and how they interact with the scene.
Driver experiments
Driver experiments are configured when capturing a scene and allow the behavior of certain driver operations to be adjusted. Please see the Radeon Developer Panel documentation for more details on configuring Driver experiments. Modified Driver experiments included in a scene file will be listed on the System information pane under the section labeled Driver experiments.
When a scene file that includes Driver experiments is loaded, a notification banner is displayed below the main drop down menu.
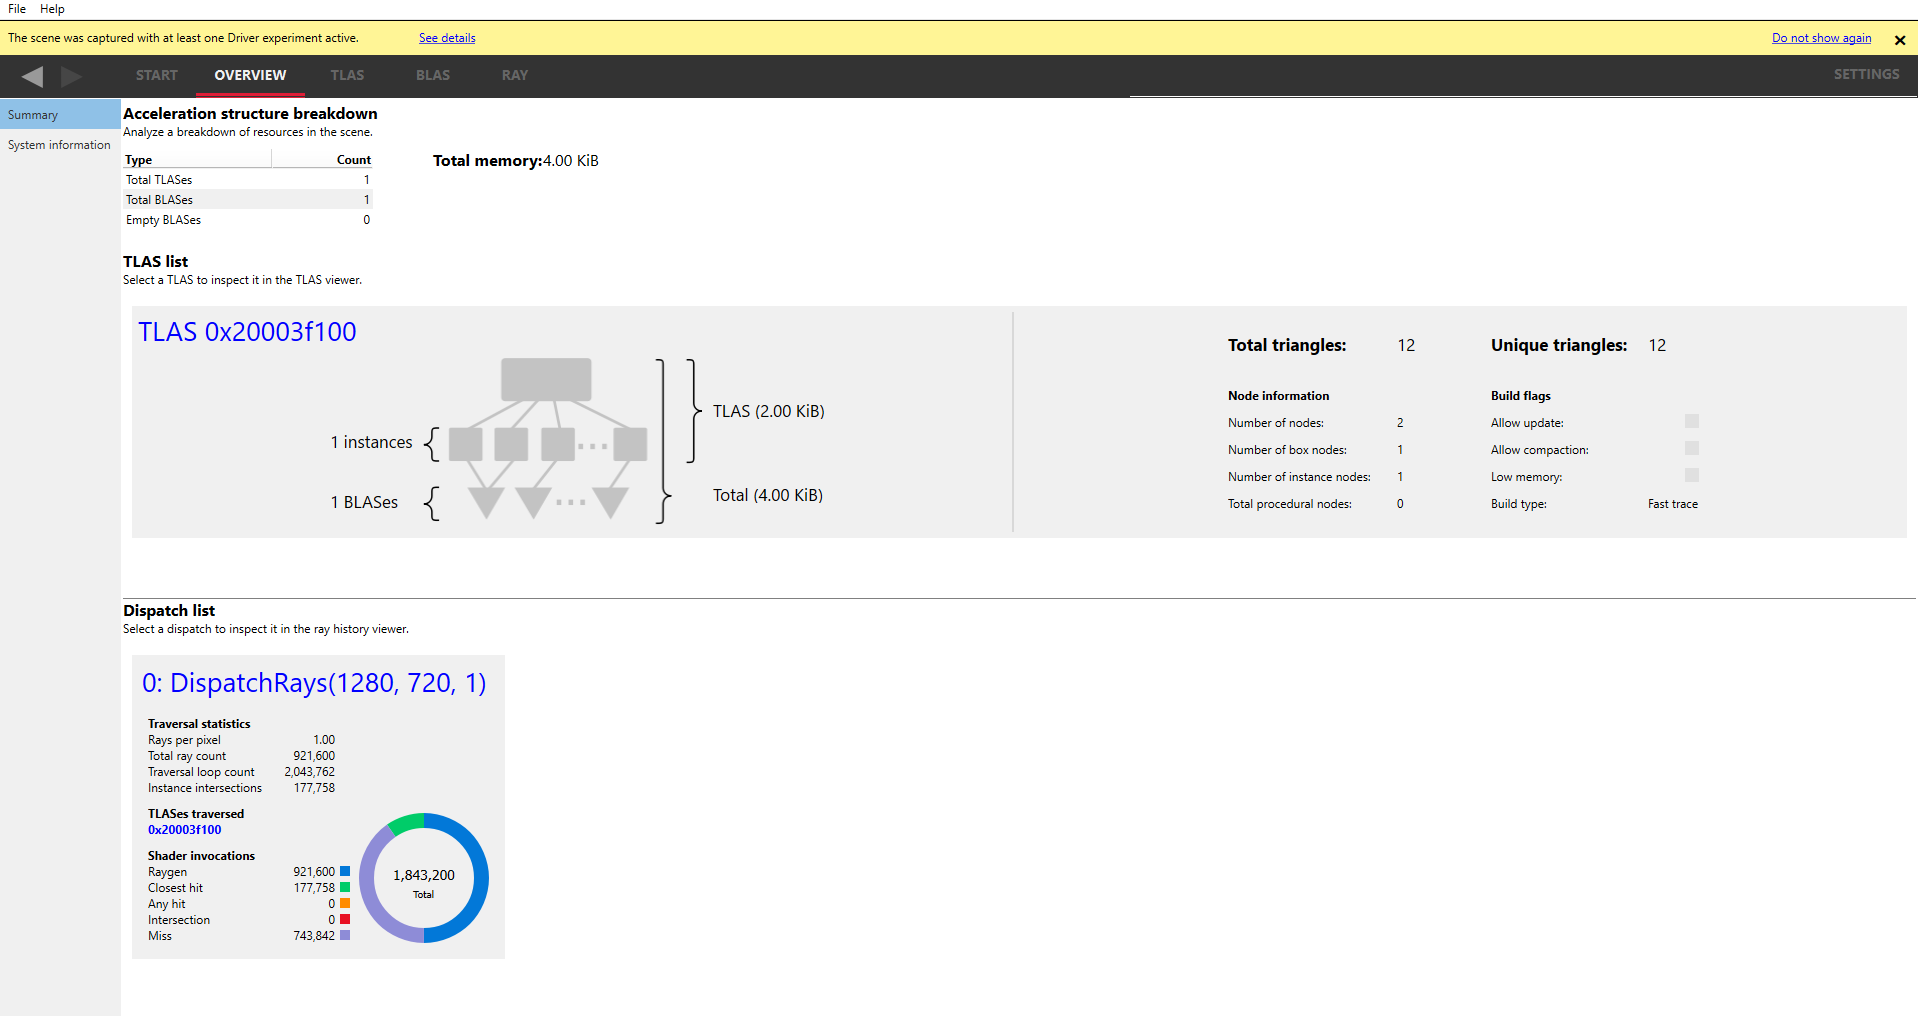
The notification banner includes a “see details” shortcut link that navigates to the System information pane. The banner can be dismissed by clicking the “X” button. Clicking the “Do not show again” link prevents the banner from being shown for subsequently loaded scene files. The notification banner can be re-enabled from the Settings pane.